MAKING A DIGITAL FACE (Part 1)
Here is the process of my photorealistic portrait. This first post contains the first part of my process, which included modelling, sculpting and texturing. More posts to follow!

Topology at lowest subdivision level
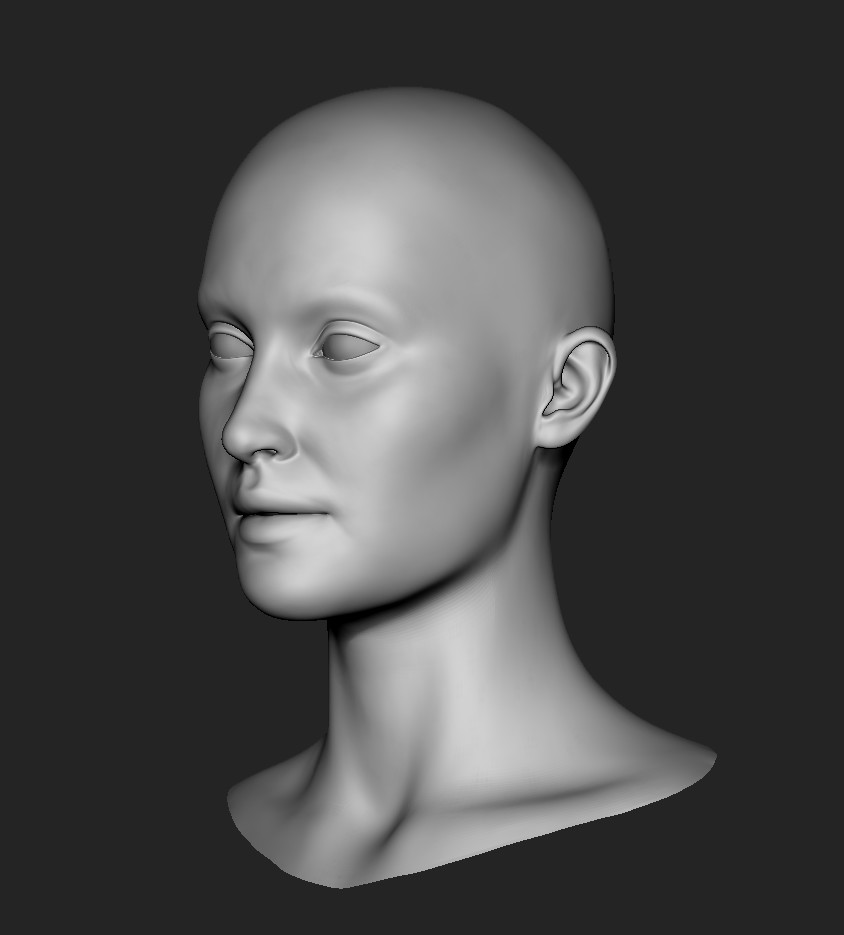
Initial ZBrush sculpt. There are issues with forms here, especially with the neck.

Displacement detail added to the model using Texturing XYZ's scanned skin data. The map was projected in Mudbox and then applied in ZBrush as a displacement map.

Texturing was the next stage: Texturing XYZ polarised photo scans were used to project onto my model in Mudbox.
While the projection gave good results I wanted to push the skin further in Mari.
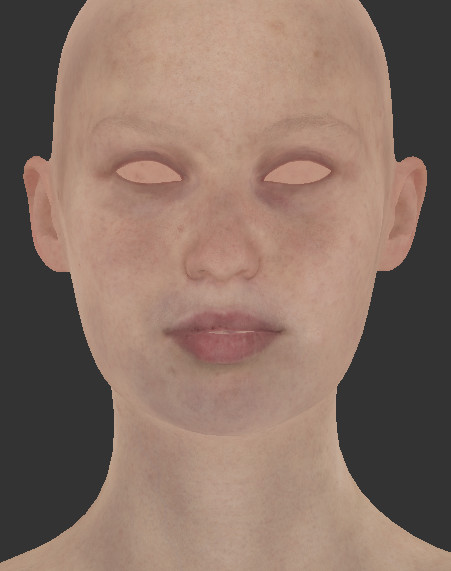
I used Mari's procedural layers to add veins and freckles to the skin as well as a subtle colour zone layer to enhance the skin tone.

Diffuse map from Mari

Early render test